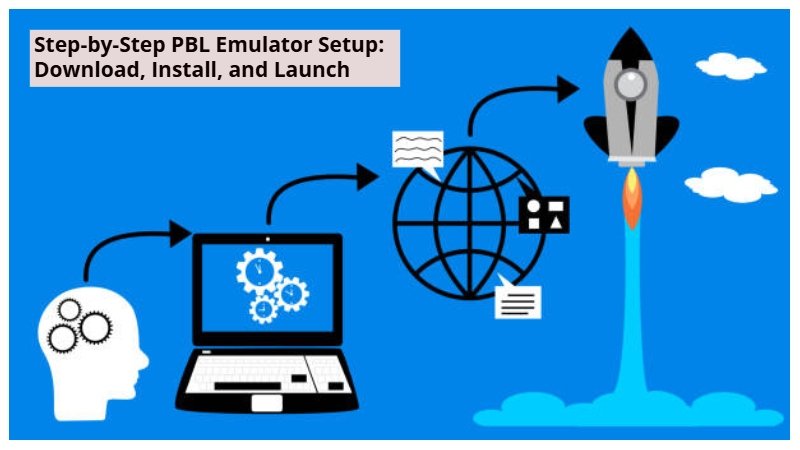
If you want to enjoy classic PS1 games on your modern device, setting up the emulator correctly is the first step. Many beginners face issues because they skip important configuration steps. When you follow the proper order, the process becomes quick and hassle-free. By the end, you’ll understand exactly how to complete Step-by-Step PBL Emulator Setup: Download, Install, and Launch without errors or confusion.
Download PBL Emulator
To begin, you need to download the correct PBL Emulator version for your device. Always choose a trusted source to avoid corrupted files or unsafe downloads. If you are using Android, you may find the emulator as an app store download or as an APK file. If you are using Windows, the emulator may come as a ZIP package or an installer.
After downloading, confirm that the file looks correct. For example, Android files should end in .apk, and Windows files should end in .exe or .zip. This small check saves you from installing the wrong file type.
Install PBL Emulator
Once the download finishes, the next step is installation.
On Android, installation depends on where you downloaded it. If you installed it from an official store, the process finishes automatically. If you downloaded an APK, your phone may block it at first. In that case, you must allow installation from unknown sources in your security settings, then install the APK normally.
On Windows, if you downloaded a ZIP file, extract it to a folder you can easily access. If you downloaded an EXE installer, run it and follow the installation wizard. After installation, launch the emulator once to confirm it opens properly.
Launch PBL Emulator for the First Time
After installing, open PBL Emulator. On the first launch, you will usually see a basic interface with options such as settings, load game, and file browser. At this stage, do not try to load games yet. First, you should configure BIOS and file locations. This order prevents game boot errors and black-screen problems.
Add the BIOS File
BIOS is one of the most important parts of PS1 emulation. Without it, many games will fail to load, crash, or run with missing features. To add BIOS correctly, open the emulator settings and find the BIOS option. Then select your BIOS file from your storage. If you keep BIOS in a dedicated folder, the setup becomes easier and more organized.
Once you select the BIOS file, save the settings and return to the main screen.
Add PS1 Game Files
Now you can load your PS1 games. PBL Emulator typically supports common formats like
-
BIN + CUE
-
ISO
-
IMG
-
PBP
If your game is compressed in ZIP or 7Z, extract it first. Otherwise, the emulator may not detect the file properly.
To load a game, tap or click “Load Game,” browse to the folder where your game files are stored, and select the correct file. For BIN games, always choose the CUE file when available because it includes important disc track data.
Configure Controls
Controls matter a lot for smooth gameplay. PBL Emulator allows different control options depending on your device. On Android, you will see on-screen touch controls. You can adjust the button size, layout, and transparency in the control settings.
If you prefer a controller, pair a Bluetooth gamepad with your phone, then map the buttons inside the emulator. On Windows, you can use either a keyboard or a controller. Most USB controllers work instantly. If the buttons feel incorrect, open the input settings and remap them.
Optimize Settings for Performance
After controls, you should adjust settings for smoother gameplay. This step is especially important if you use a low-end device. To improve performance, lower the internal resolution, disable heavy filters, and enable frame skipping if needed. If you have a powerful device, you can raise the resolution and enable enhancements for better visuals.
At this stage, you are completing Step-by-Step PBL Emulator Setup: Download, Install, and Launch in the correct order, which ensures the emulator runs smoothly and loads games properly.
Start the Game and Confirm It Runs
Now go back to the main screen, load your game, and start playing. If the BIOS is set correctly, many games will show the classic PlayStation boot screen before launching. Test the controls, audio, and speed. If everything runs smoothly, your setup is complete.
This is the final stage of Step-by-Step PBL Emulator Setup: Download, Install, and Launch, and once you reach here, you can play PS1 games confidently.
A proper emulator setup saves you time and prevents the most common loading and performance issues. When you follow the correct order—download, install, BIOS setup, game loading, and settings—you get a stable and smooth experience. This guide covered Step-by-Step PBL Emulator Setup: Download, Install, and Launch in a clear and beginner-friendly way, so you can start playing without frustration.
Also Read: A @rivenisnet: Everything You Need to Know